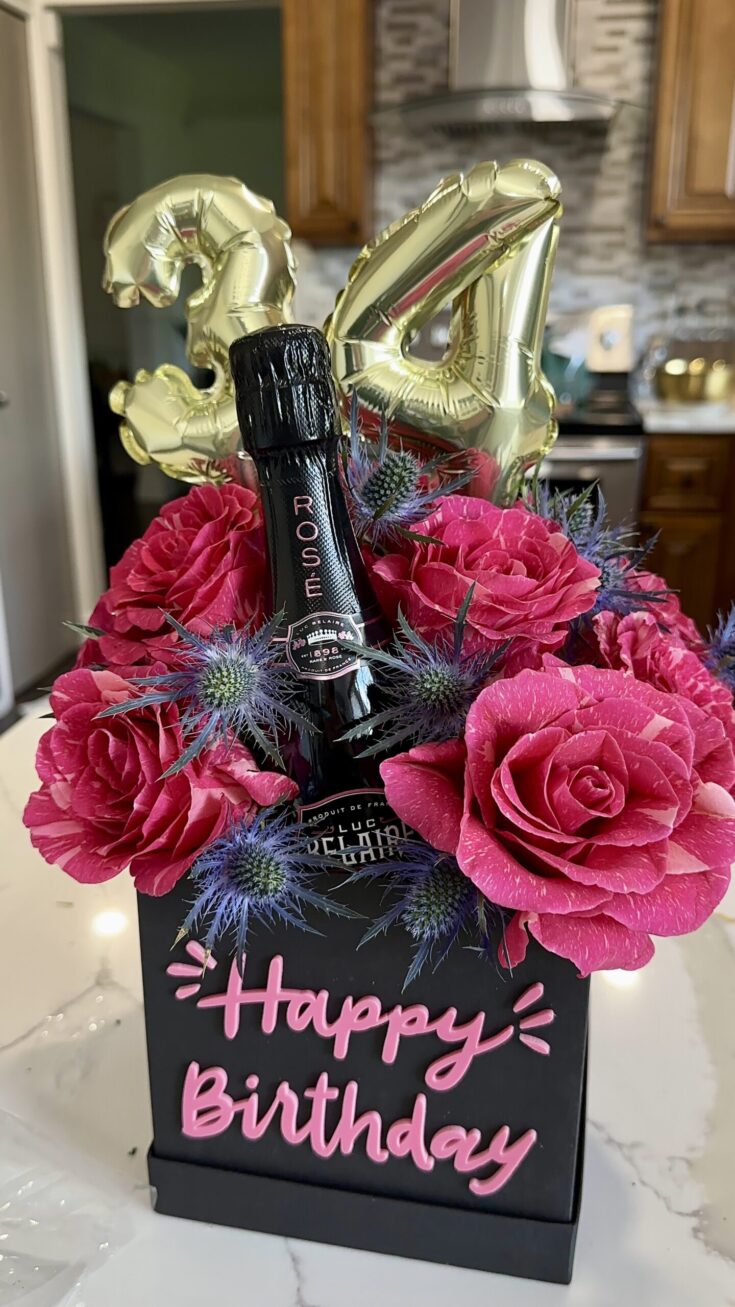
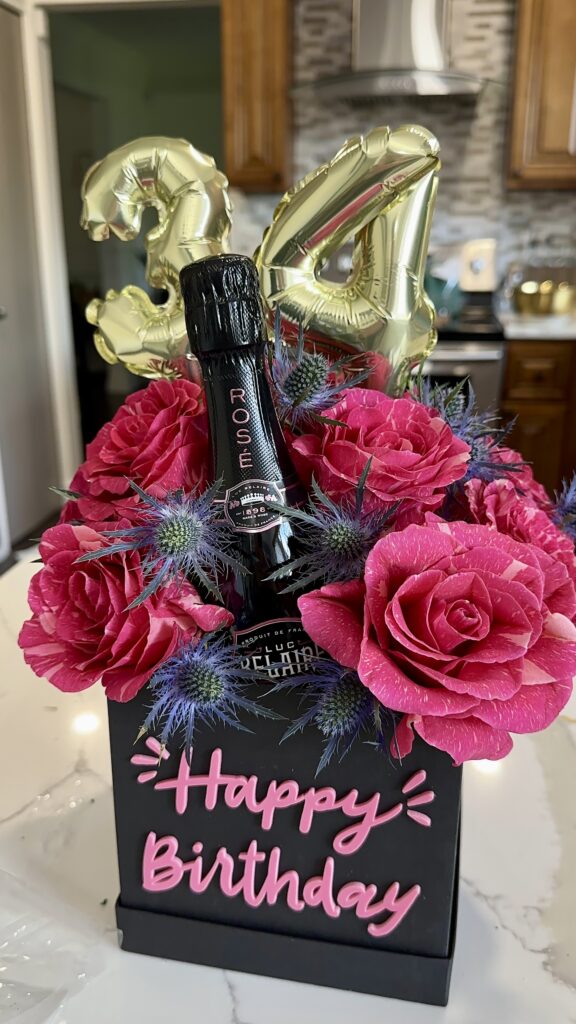
I made this floral gift box for my godsister’s birthday, wanting to give her something unique and personal that felt special and celebratory. Rather than a traditional gift, I wanted to combine her love for fresh flowers with the fun of a mini champagne bottle and a personalized touch using her birthday number topper. The end result was an elegant yet playful gift that brought together the beauty of flowers and the joy of celebrating milestones.
What’s great about this floral gift box is how easily it can be altered to fit other occasions. Whether it’s for an anniversary, a bridal shower, or just because, you can swap the birthday elements for any theme you want. Add a different topper, change the colors or style of flowers, and you’ve got a thoughtful, versatile gift for any celebration!
Floral Gift Box

A floral gift box is a beautifully curated and versatile present that combines fresh flowers, a celebratory touch, and personalized elements, all arranged in an elegant keepsake box. Perfect for birthdays, anniversaries, or special occasions, it’s a thoughtful and creative way to express love and joy. With the ability to customize the flowers, add small gifts like a mini champagne bottle or topper, and personalize decorations, this DIY gift box offers a unique alternative to traditional presents. Its stunning presentation and personal touch make it a memorable and cherished gift for any occasion.
Materials
- Flowers (your choice, make sure they are fresh)
- 5.8-inch gift box (preferably square or rectangular)
- Happy Birthday sticker
- Floral foam (to keep the flowers fresh)
- Cellophane wrap
- Mini champagne bottle
- Number topper (choose the recipient’s age)
- Ribbon (optional, for extra decoration)
Instructions
- Prepare the Gift Box:
Open the 5.8-inch gift box and line the inside with cellophane. This will help protect the box from water and floral foam moisture.
If desired, you can secure the cellophane to the box using small pieces of tape at the corners. - Prepare the Floral Foam:
Soak the floral foam in water for about 30 minutes until it is fully saturated.
Trim the foam to fit the inside dimensions of the gift box, ensuring it sits securely inside.
Place the foam in the box on top of the cellophane lining. - Arrange the Flowers:
Trim the flower stems at an angle so they are easier to insert into the foam.
Start by placing the larger flowers into the foam, spacing them out to create a balanced look.
Fill in the gaps with smaller flowers and greenery. Adjust the height and placement of the flowers to give the arrangement depth and fullness. - Add the Mini Champagne Bottle:
Nestle the mini champagne bottle into one corner or the center of the box, depending on the flower arrangement. Push it slightly into the foam to keep it secure.
Adjust the surrounding flowers to frame the bottle nicely. - Attach the Number Topper:
Insert the number topper into the foam or position it securely in the flower arrangement, ensuring it is visible and balanced. - Add the Happy Birthday Sticker:
Apply the Happy Birthday sticker to the outside of the gift box, either on the lid or the side. Make sure it is centered and aligned. - Final Touches:
Once the flowers, champagne, and topper are arranged, adjust any blooms or greenery as needed for symmetry and fullness.
Optional: Wrap the entire box with a ribbon or tie one around the champagne bottle for a polished look.

